
How to Upgrade Windows XP to Windows 8? - Page 2
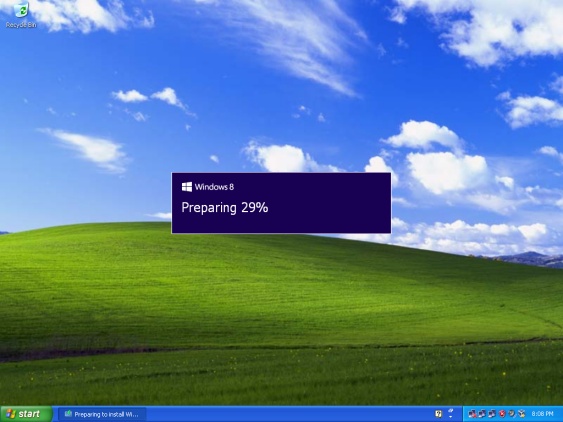
By: Arie SlobIf you used the option to purchase the upgrade through the Windows 8 Upgrade Assistant setup will start once you have completed the process. If you got a Windows 8 DVD, after you have booted Windows XP, insert the DVD and setup will automatically launch.
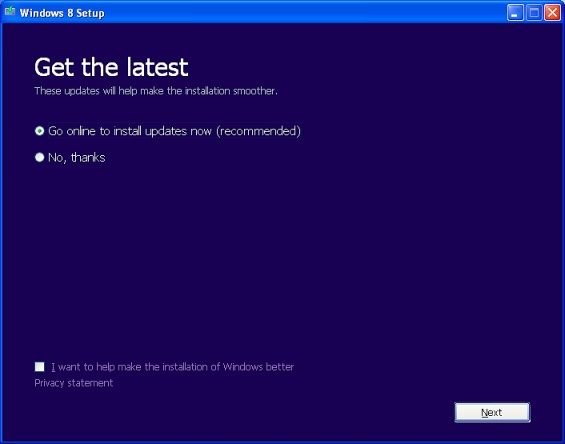
You'll be prompted to get the latest updates. I suggest that if you have an active Internet connection you leave this option selected. These updates won't be huge; they are updates Microsoft makes only to the Windows 8 setup 'engine' to address problems/compatibility issues reported to them.
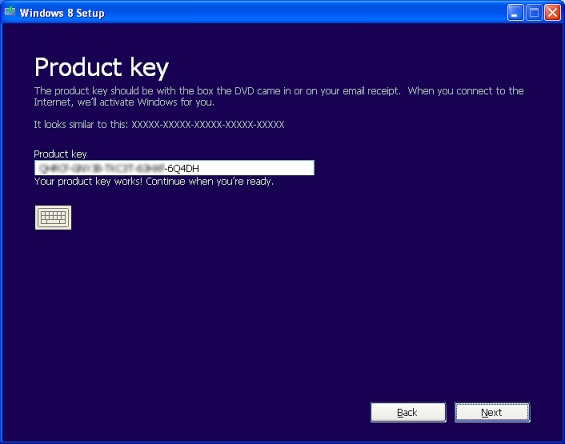
Next you'll be prompted for your product key. If you are using the Windows 8 Upgrade Assistant, the key will be embedded; otherwise you'll have to check your purchase confirmation email or product packaging for the product key.
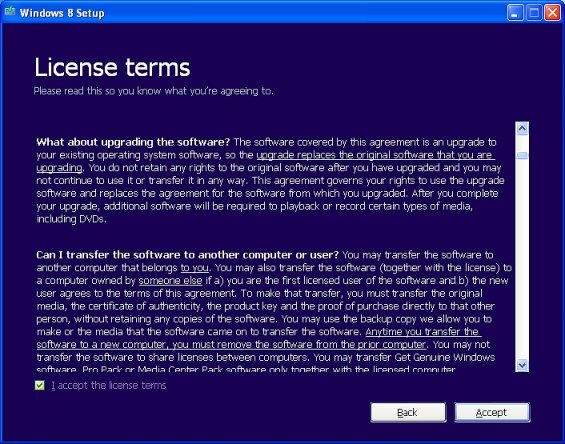
Next you'll have to agree to the license terms. I've scrolled down a bit in the EULA so you can see an important point some people tend to forget: This is an upgrade license, which means that when you use it, you lose all rights to the software you used to qualify for the upgrade. So you don't get to keep running Windows 7 and use the Windows 8 upgrade license on another PC (or a dual boot for that matter!).
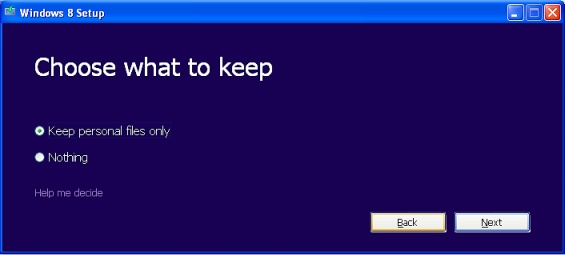
Next is an important choice to make. If you have any personal files on your computer, those will be copied to your new operating system's locations when you select Keep personal files only. If you choose Nothing, setup will preserve your files in a folder called Windows.old.
After a quick check, Setup should now show you a summary screen displaying any choices you made. If you want to change, you can use the "Back" button to return to previous screens to adjust any options.

When you are ready to start, click the "Install" button to start the process. The time needed will depend on your hardware (Memory and CPU), as a guideline I'd say it'll probably take at least 20 minutes.

Windows 8 setup will enter full screen mode to start the process and during this time will restart several times. After the initial part of setup has completed, Windows 8 Setup comes to the "Getting ready" part.

If you selected to keep your personal files, setup will next "Move your settings".

The next phase is what's officially called the Out of Box Experience (OOBE). You'll first be presented with a color picker. You don't have to pick a color now; you can always do that later.

Next you'll encounter the "Settings" screen. Just read what the "Express" settings are, if you don't agree with those, click the "Customize" button to make your own individual choices.

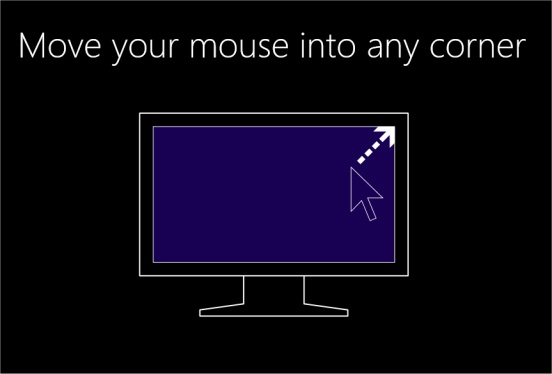
When setup finalizes you'll be shown a brief animation alerting you to the fact the Windows 8 has "hot" corners: Moving the mouse there will bring up menu choices (the "Charms" menu on the right, the running apps or shortcut to the "Start" screen on the left).
Before long you'll be presented with the Windows 8 Start screen. Next you'll probably need to install your drivers and any applications you wish to use on Windows 8.
Launch Windows Explorer by pressing the Winkey+E and check if all your files have been moved to Windows 8. Note that your hard drive will contain a folder named Windows.old. This folder contains the following folders prior to the upgrade:
- Documents and Settings
- Program Files
- Windows

I suggest you keep the Windows.old folder at least for a few weeks/months to be sure you don't need any of the old files. But this folder can take up a lot of hard drive space; a few gigabytes on a nearly clean Windows XP system to easily 15-20 GB on a well-used system.
Note that even when you selected "Nothing" when asked to choose what to keep, you'll still end up with all your files in the Windows.old folder (including your personal files).
When you are sure you no longer need access to any files in the Windows.old folder, you can simply delete it to reclaim a good deal of hard disk space. You can also use Windows Disk Cleanup. You'll have to click the button Clean up system files to get to the option to clean Previous Windows installation(s). You can start Disk Cleanup by entering cleanmgr.exe in the Run command (press Winkey+R).

Enjoy your new OS. If you have any questions, you can post these on our Forum.