
• December 21, 2006 •
Indepth Review of Windows Vista.
Part III: Windows Vista Hardware Requirements & Installing
Hardware Requirements
By: Arie SlobAs has been Microsoft's custom in the past, the minimum hardware requirements it states for Windows Vista are not to be taken seriously. According to Microsoft you can get by with:
- A modern processor (at least 800MHz)
- 512 MB of system memory
- A graphics processor that is DirectX 9 capable
The hardware requirements above are designated for a "Windows Vista Capable" PC. Well, maybe it's capable of running the Vista Starter edition (which isn't available via retail), but don't expect it will run even Vista Home Premium at any decent performance level.
Microsoft also lists requirements for a "Windows Vista Premium Ready PC", which are:
- 1 GHz 32-bit (x86) or 64-bit (x64) processor
- 1 GB of system memory
- Support for DirectX 9 graphics with a WDDM driver, 128 MB of graphics memory (minimum), Pixel Shader 2.0 and 32 bits per pixel
- 40 GB of hard drive capacity with 15 GB free space
- DVD-ROM Drive
- Audio output capability
- Internet access capability
The "Windows Vista Premium Ready PC" requirements are close to the absolute real minimum requirements, except that the CPU requirements are too low. A real minimum would probably be around 2 GHz for a single-core processor, while a dual-core processor could possibly get away with 1.8 GHz.
To get a good performing system I'd say you need at least a processor that runs at 2.4 GHz for single-core, or 2.0 GHz dual-core; have 2 GB of system memory and a graphics card with 256 MB memory that has a WDDM driver.
Windows Vista Installation
Microsoft has completely changed the way the installation of Windows works in Windows Vista. Now, most of the changes are hidden for the typical Windows user. What you will note, however, is that Windows Vista installer requires very little input, and is much faster in installing, averaging about 25 minutes for a clean installation.
Behind these improvements is a change in the way that Microsoft performs the installation. Gone are the days that files are dumped on the hard drive and expanded one-by-one. Instead, Microsoft created a new image-based setup format called WIM (Windows Imaging Format). This new hardware-independent image-file format is just a compressed bootable Windows Vista system that will install on any hardware. During setup this image is copied to the hard drive, and then expanded. Next Windows setup completes by detecting and configuring the specific hardware devices on the PC.
The advantage to this image based setup is that there is only one image to maintain (well, actually two: one 32-bit and one 64-bit). The image is language independent, and also contains all Windows Vista versions that are available. The product key determines which version is installed.
Another advantage is that the DVD contains an "Updates" folder in the root. All you have to do to integrate updates and service packs to Windows Vista is to copy these in the Updates folder and create a new DVD or install share. This is a huge improvement to the current situation which requires service packs to be slip-streamed into a Windows install, which was a difficult process.
Microsoft offers the following resources if you want more information about WMI and the deployment options:
- Windows Vista Deployment Enhancements
- Windows Vista Deployment Features and Improvements
- Business Desktop Deployment for Windows Vista
- Deploying Windows Vista
- On-demand webcast: Windows Vista Imaging
- On-demand webcast: ustomizing and Servicing Windows Vista Images
Clean Install or Upgrade?
By: Arie SlobMost people will be introduced to Windows Vista when buying a new PC, but some may be interested in upgrading their current Windows XP based machine to Windows Vista. With previous versions of Windows, Microsoft always made it easy to do a clean install with the 'upgrade' version: You just started running the installation from the upgrade CD, and the installation routine would ask you to 'insert proof of your current Windows version', at which point you inserted your previous Windows version's CD. After that the upgrade would happily continue.
Not so with Windows Vista! Microsoft has removed the 'compliance check' from Vista's upgrade routine. When asked about it, a Microsoft representative told me that this was done because compliance checking was so easy to beat in Windows XP, so it was decided to skip it and just limit the use of the upgrade key to installing from within a running OS. For more information read my article Upgrading To Windows Vista.
If at all possible you should always opt for a clean installation. Over time your old installation will have collected a number of 'orphaned' files, bits left over from programs/applications you installed & removed, together with a lot of other junk. A clean install will get rid of all that.
If you don't have the time/energy to do a clean install, an upgrade should work OK. Normal rules apply, so make sure you at least have a current backup of your user data before you start.
You start a clean install by booting the PC from the Windows Vista DVD, and initiating the install from there. You'll format the hard drive, and continue the installation.
To start an upgrade, you'll have to boot the current Windows, and start the Vista upgrade from within your current Windows.
Running Setup
Like Windows XP, Windows Vista ships on a bootable optical disk, the difference is that in the case of Vista it is a bootable DVD. When you boot off the Vista DVD, it will load the pre-installation environment into memory. This will provide you with a basic GUI from which setup will be run; gone is the first-phase setup from Windows XP which is text-based.
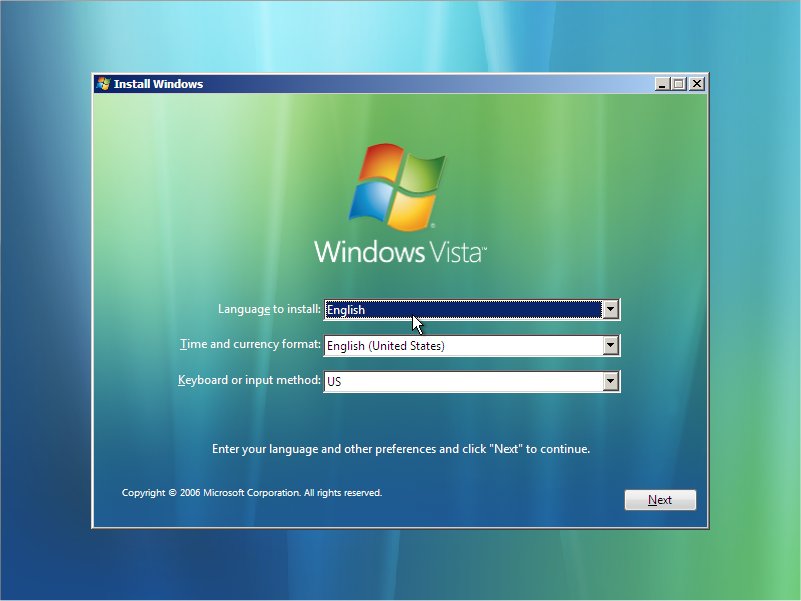
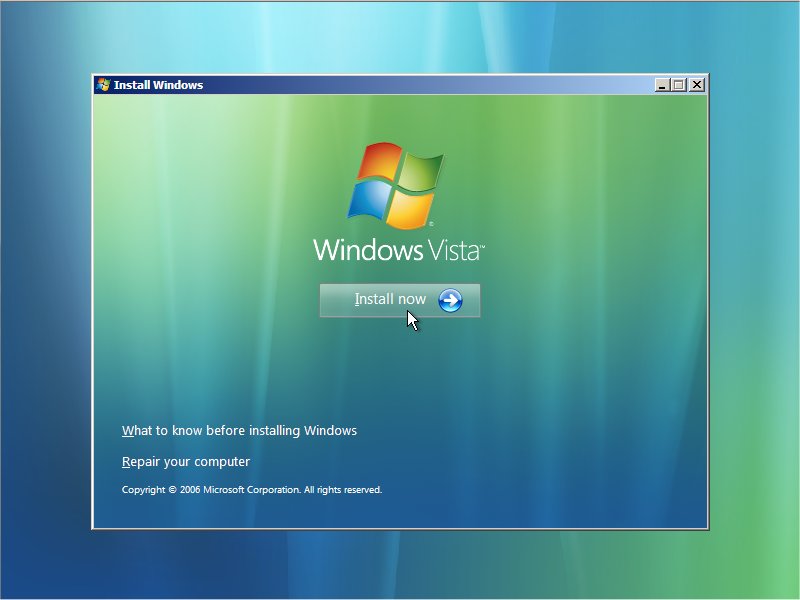
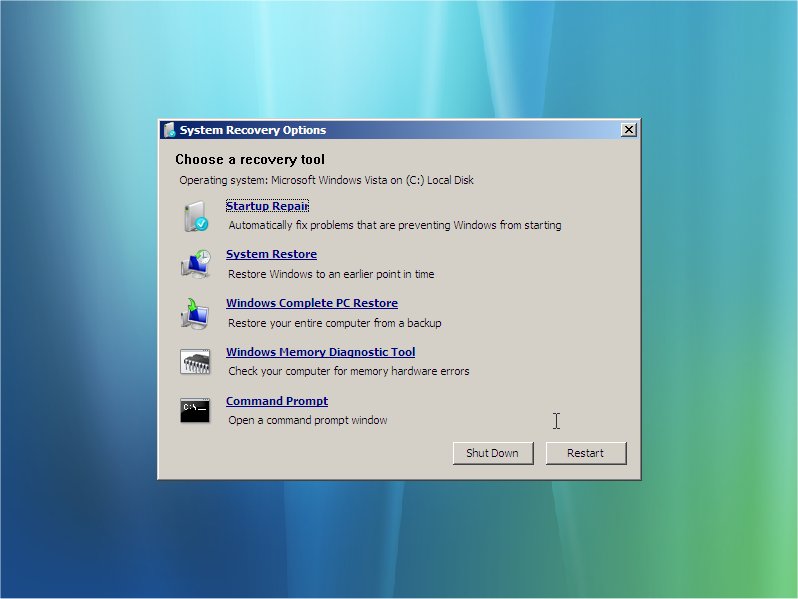
You'll first be presented with a screen where you can check/change the Language, Time and currency format and Keyboard language choice (Figure), after you advance to the actual "Install Now" screen (Figure). Besides starting the actual installation, you can get some more general information on installing Windows Vista, or start Windows Vista elaborate recovery tools (Figure).
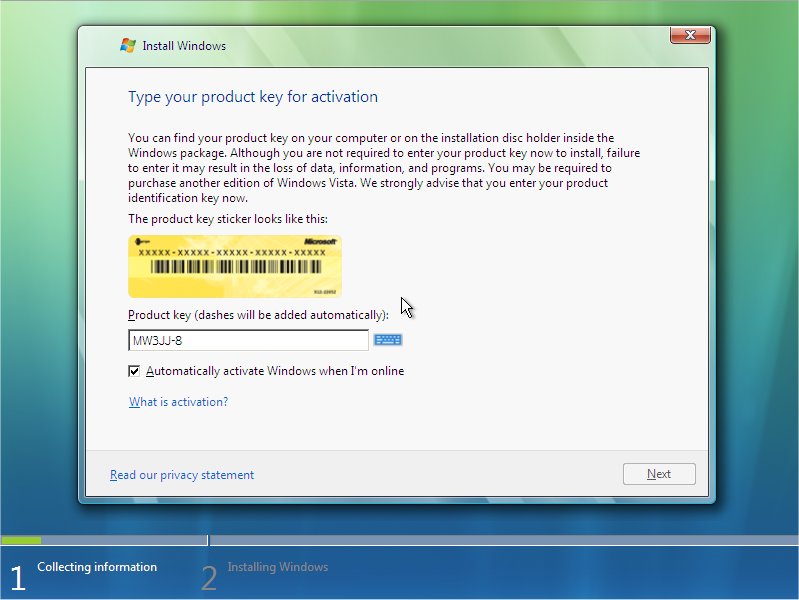
Next you'll be prompted for your product key (Figure). As mentioned earlier, your product key determines which edition of Windows Vista will be installed. You can install without entering a product key. When you don't enter a product key, you'll be prompted which edition you want to install. You then have 30-days to enter your product key; this way you could "test drive" different Vista editions. Do note however that you'll have to re-install Vista if you are not installing a version for which you do not have a valid product key.
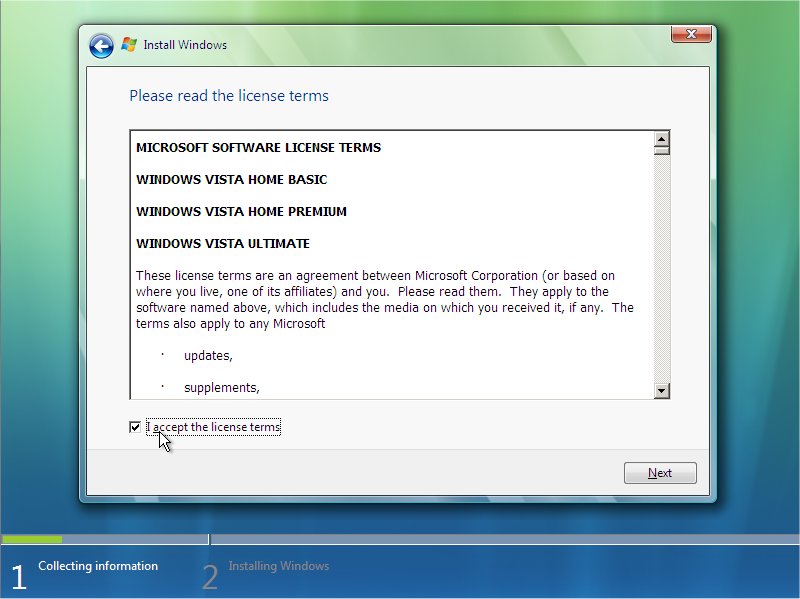
After entering the product key you have to agree to the EULA (End User License Agreement) (Figure). If you want to read the EULA before purchasing Vista, the EULA's are downloadable in .pdf format from Microsoft's Retail Software License Terms Web site.
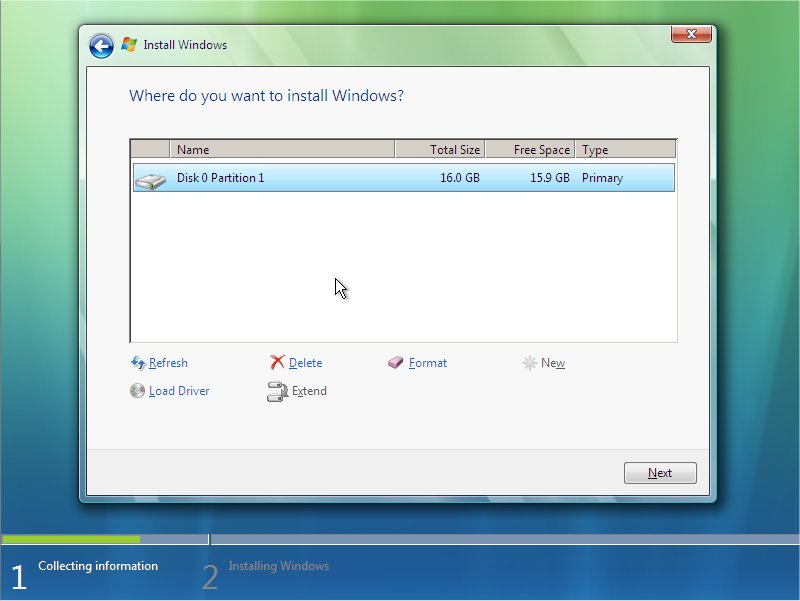
Next up is the choice screen where you choose between the setup method "Upgrade" or "Custom (Advanced)" (Figure). You use Custom to do a clean installation. The Upgrade option will be unavailable unless you started setup from within Windows XP. The next screen lets you choose the hard drive or partition where you want to install Vista (Figure). You'll also have to option to format the hard drive, or load a driver (to detect your hard drive) if needed.
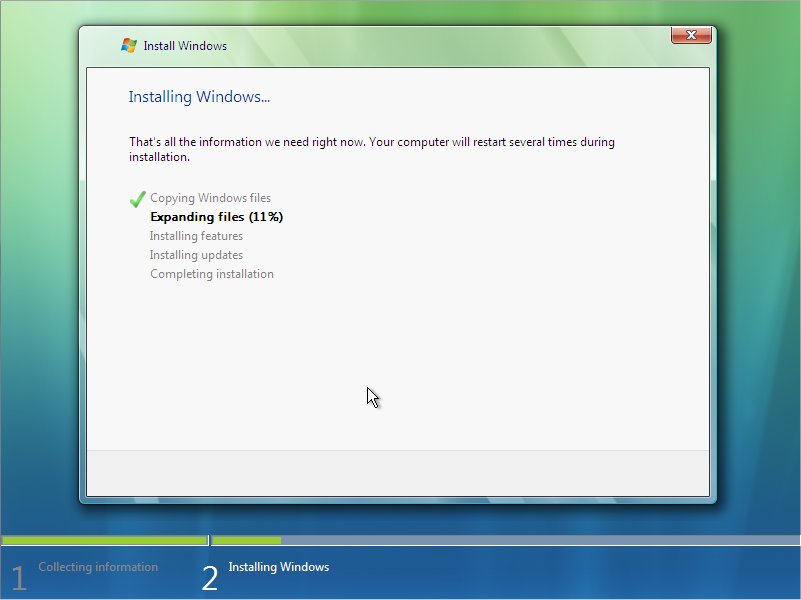
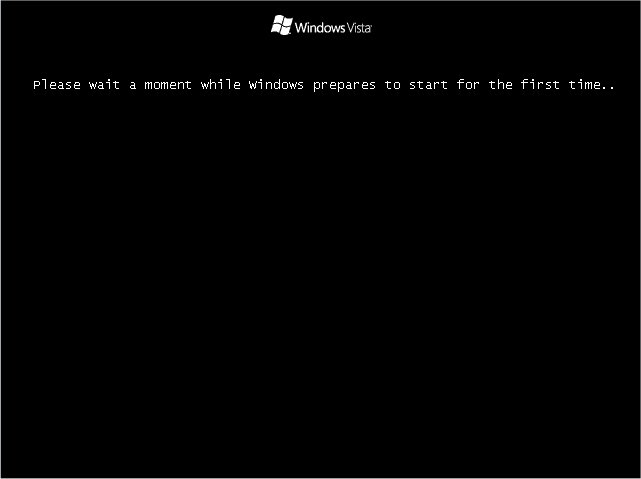
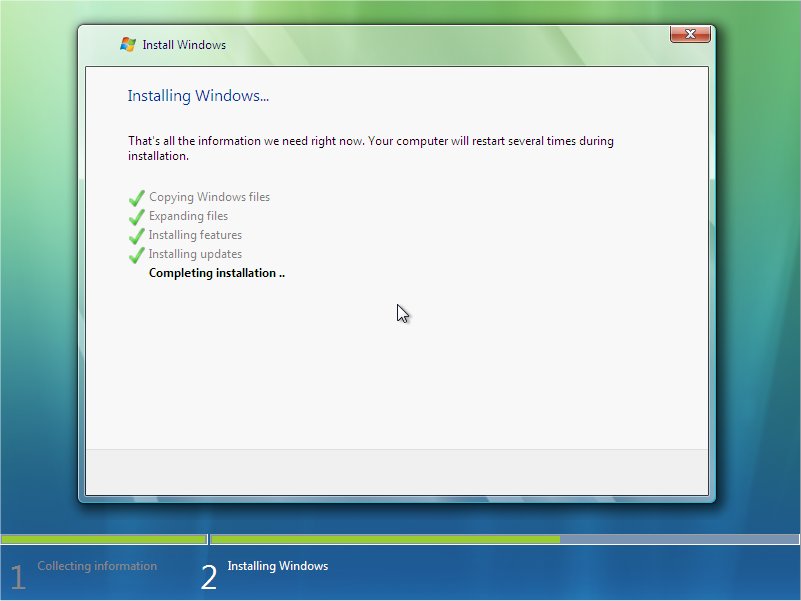
This is all the information setup needs to start. The setup image will be copied to your hard drive, expanded, and Windows will start to install (Figure). After a reboot (Figure), setup will continue for another 15 minutes (roughly) (Figure), and then reboot a second time to finish the last part of the install.
After the initial few screens, the whole process is "hands off", so you do not have to "baby sit" the setup like you had to do with Windows XP, which would require you to enter bits of information during Windows XP's setup process.
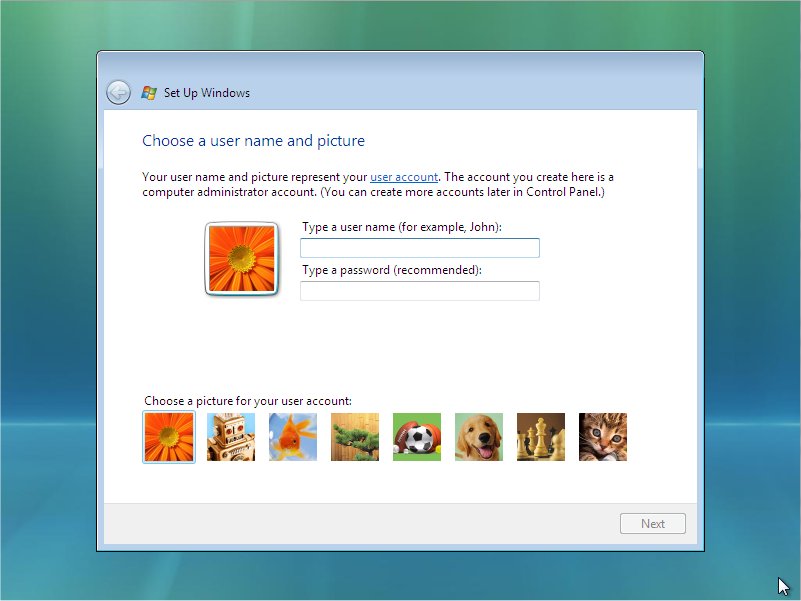
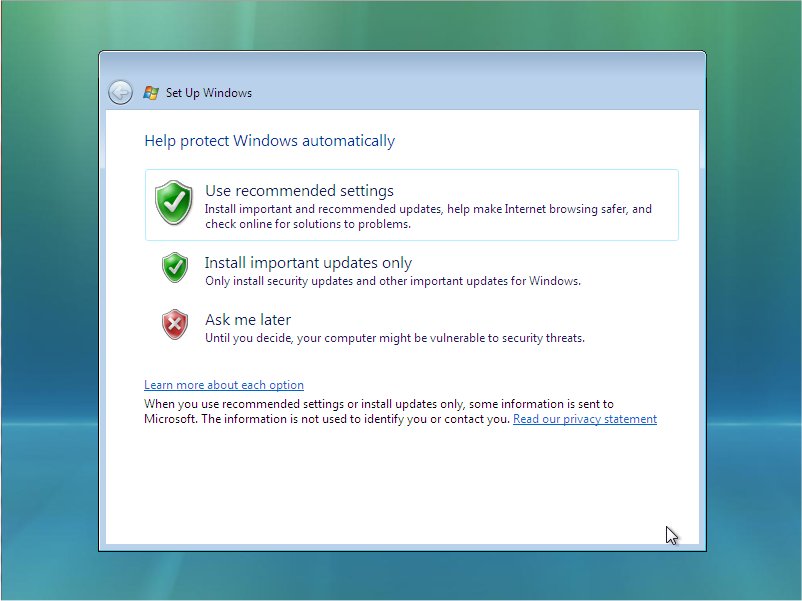
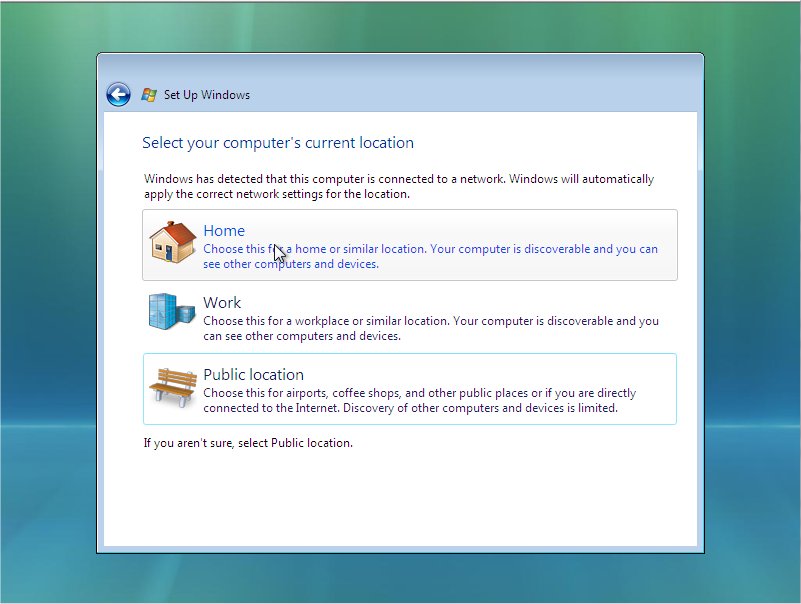
Now, when Vista setup starts after the 2nd reboot (Figure), it will ask you some additional information, starting with your user name, password and user account picture (Figure). Next you choose the computer name and desktop background (Figure). Next up you're asked to configure Automatic Updates (Figure), followed by a review of your date & time settings (Figure). Last is the network setup, which is just a simple choice between "Home", "Work" or "Public location" (Figure).
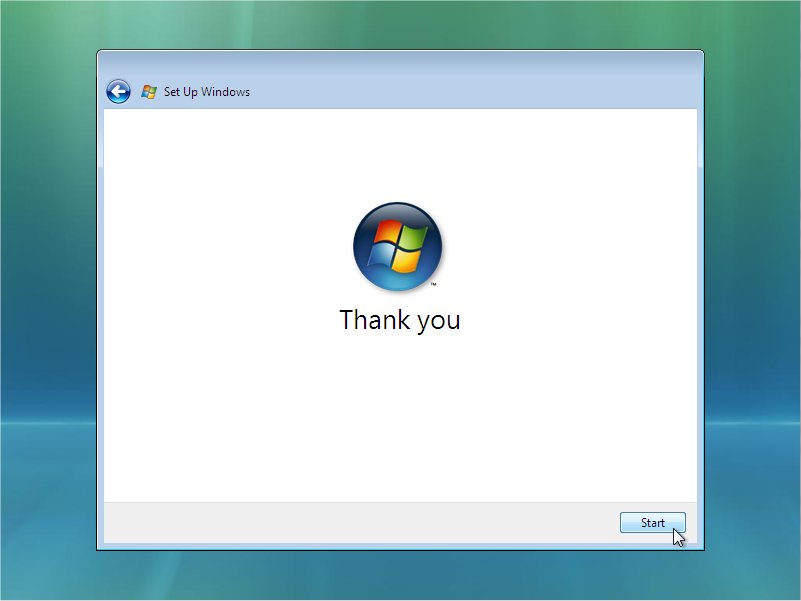
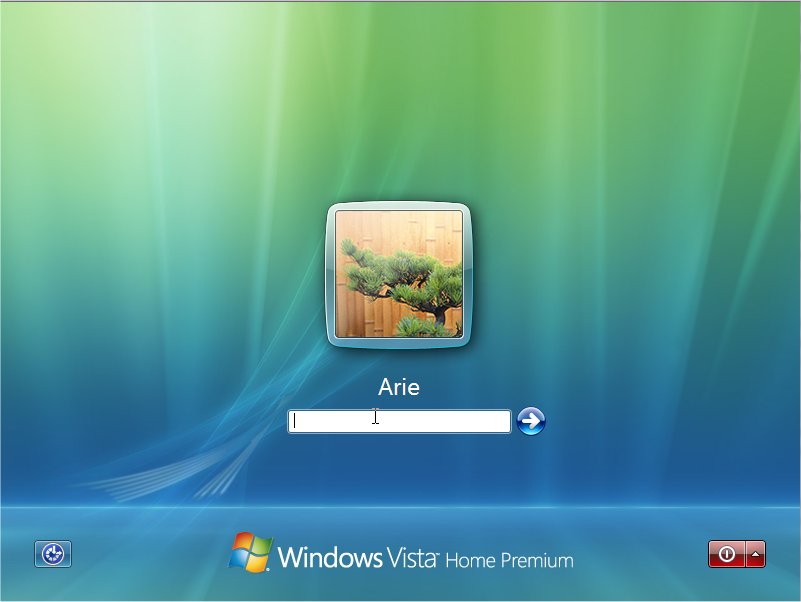
After a "Thank You" note (Figure), Vista will start up (Figure), and after few minutes in which Vista is rating your system performance and showing you some cheesy marketing shots ("Getting it done just got more fun".. how's that for cheesy?), Vista will present you with the login screen for the first time (Figure).
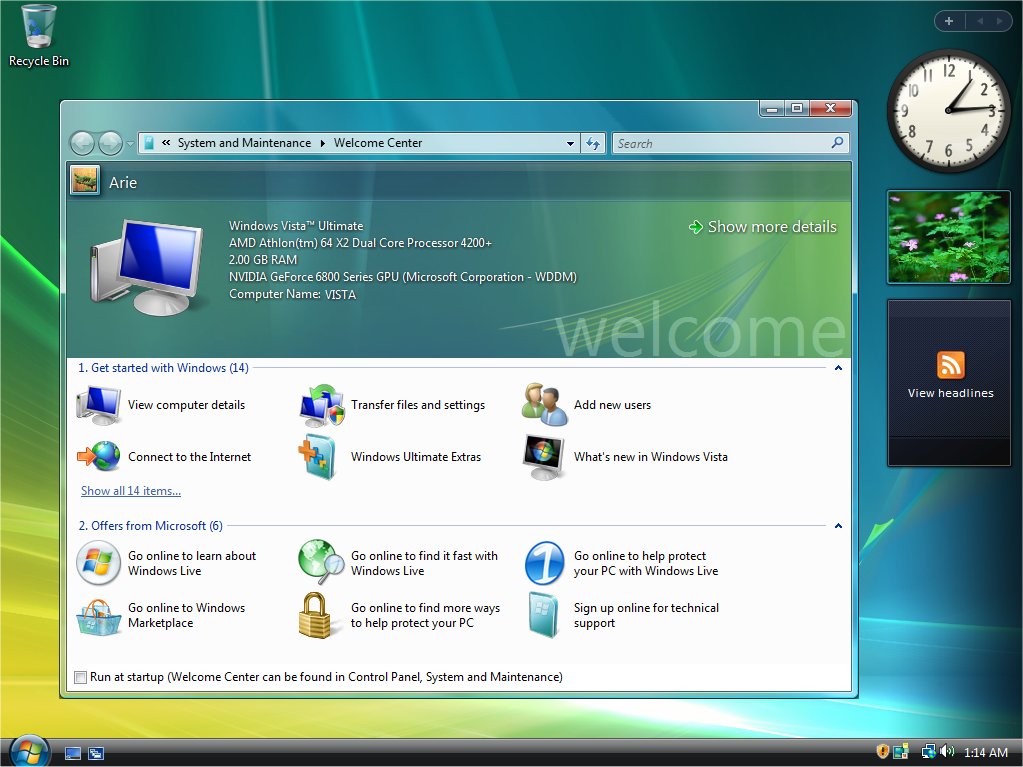
Vista's setup routine is a nice improvement over Windows XP's setup, although it does mean you will have some post-setup adjustments to make. For one, you'll probably change the workgroup, or join Vista to an existing domain. You may also want to set up additional user accounts, or perform some other post-setup tasks. Vista does provide a new "Welcome Center" from where you can easily initiate these tasks (Figure).
Give your comments on this article.


